Friday, May 31, 2013

The REAL last post of May!

I didn't get quite as much done today as I could've and therefor don't feel justified titling it "Holy Crap! It's Almost Done!" even though it is, in fact, almost done. In relative terms.

I lined and turned the bodice today. Hateful part of the process and yet most gratifying to complete. The pointy corners are like wrestling crocodiles to turn sometimes.
I mean, look at that. That just LOOKS a mess.
And the physics of that placket did not help, despite their being quite awesomely effective.

evil little corners

I also did a bit of topstitching buried in the trim along the neckline to sharpen and secure the edges. The armholes are prepped for binding, which will get done this weekend maybe. I did get the lining secured, by hand, along the waistline.

Looking pretty good, dontcha think?
(also, the way the fabric is bending w/ the weight of the sleeve pinned to it, it totally looks like the left side of skirting is way longer than the right. But it's not. I promise.)


Now that truly will be the last post of May. The armholes, grommeting, and some nit-picky finishing details and the bodice will be DONE-ZO! The skirt just needs a waistband, to be sewn TO that waistband, and a hem and it too will be donesauce. I guess that is almost-done. Fine. HOLY CRAP IT'S ALMOST DONE!

Wednesday, May 29, 2013

My God! It Looks Like A Dress!

Today's unexpected day-off status proved vitally useful! At this point all components are detailed and completed and have only to be combined and finished.

The skirt trimming has been finished:

The bodice got it's own S-curve treatment:

And trimming and flat-lining...

This placketeroo got made

And cable-tie reinforced. God I love those things.
 And lightly trimmed.

Epaulette's got hemmed and hawed over then finally came together in a round about sort of way.

And of course they got trimmed too. (When in doubt, more trim)

 Flipperoonie...

Fancy-ass studs echoing the skirt and bodice detailing...

Epaulettes and skirting pieces all done...

And this is me laying out all the pieces to approximate what the soon-to-be-finsished product will look like...

I've begun preparatory work to flip the bodice out with the lining, which is always kind of a pain when I've improvised crap like that placketeroo thing. That will be the next step and this thing will be finished before we know it.

Last post in May. June here we come... BAPA and rehearsals will be underway this weekend for my friends at Bristol. I'm definitely missing those days, despite being busy and happy out here. Part of me will definitely be with you in spirit during these exciting days of creation, inspiration, collusion, and anticipation, my friends!

Friday, May 24, 2013

I HAS EVERYTHING!

I NOW HAVE EVERYTHING TO FINISH(aka start) THIS DRESS!

The silk and patterns I was waiting for have arrived and thanks to being sick I had a couple extra days home to crank out some progress. I'm not exactly at a stopping point but I've been at it all day and need to tend to other things for the evening so I'm using these few moments to celebrate the progress!

Waiting for the silk and patterns I tried to do everything possible without them so I cut the skirt panels and prepped them for cartridge pleating (I'll be doing the hem from the bottom this time). Once all the trimming is done on the overskirt I just have to yank the threads and BOOM! PLEATED!

The pattern arrived first. One of my friends and fellow costumers is making the new corset for this Miss and was wonderful enough to send a sloper (bodice) pattern and the corset pattern so I can draft my bodice pattern from those. So I did exactly that and got the bodice cut out and ready to be trimmed.

THEN the silk arrived! It was on the cutting table within minutes.
 The silk's primary purpose is as piping so it was subsequently marked, cut, pieced end to end, and piped.
Who's a pretty piping? That's right! YOU ARE! (That's what I said to it)

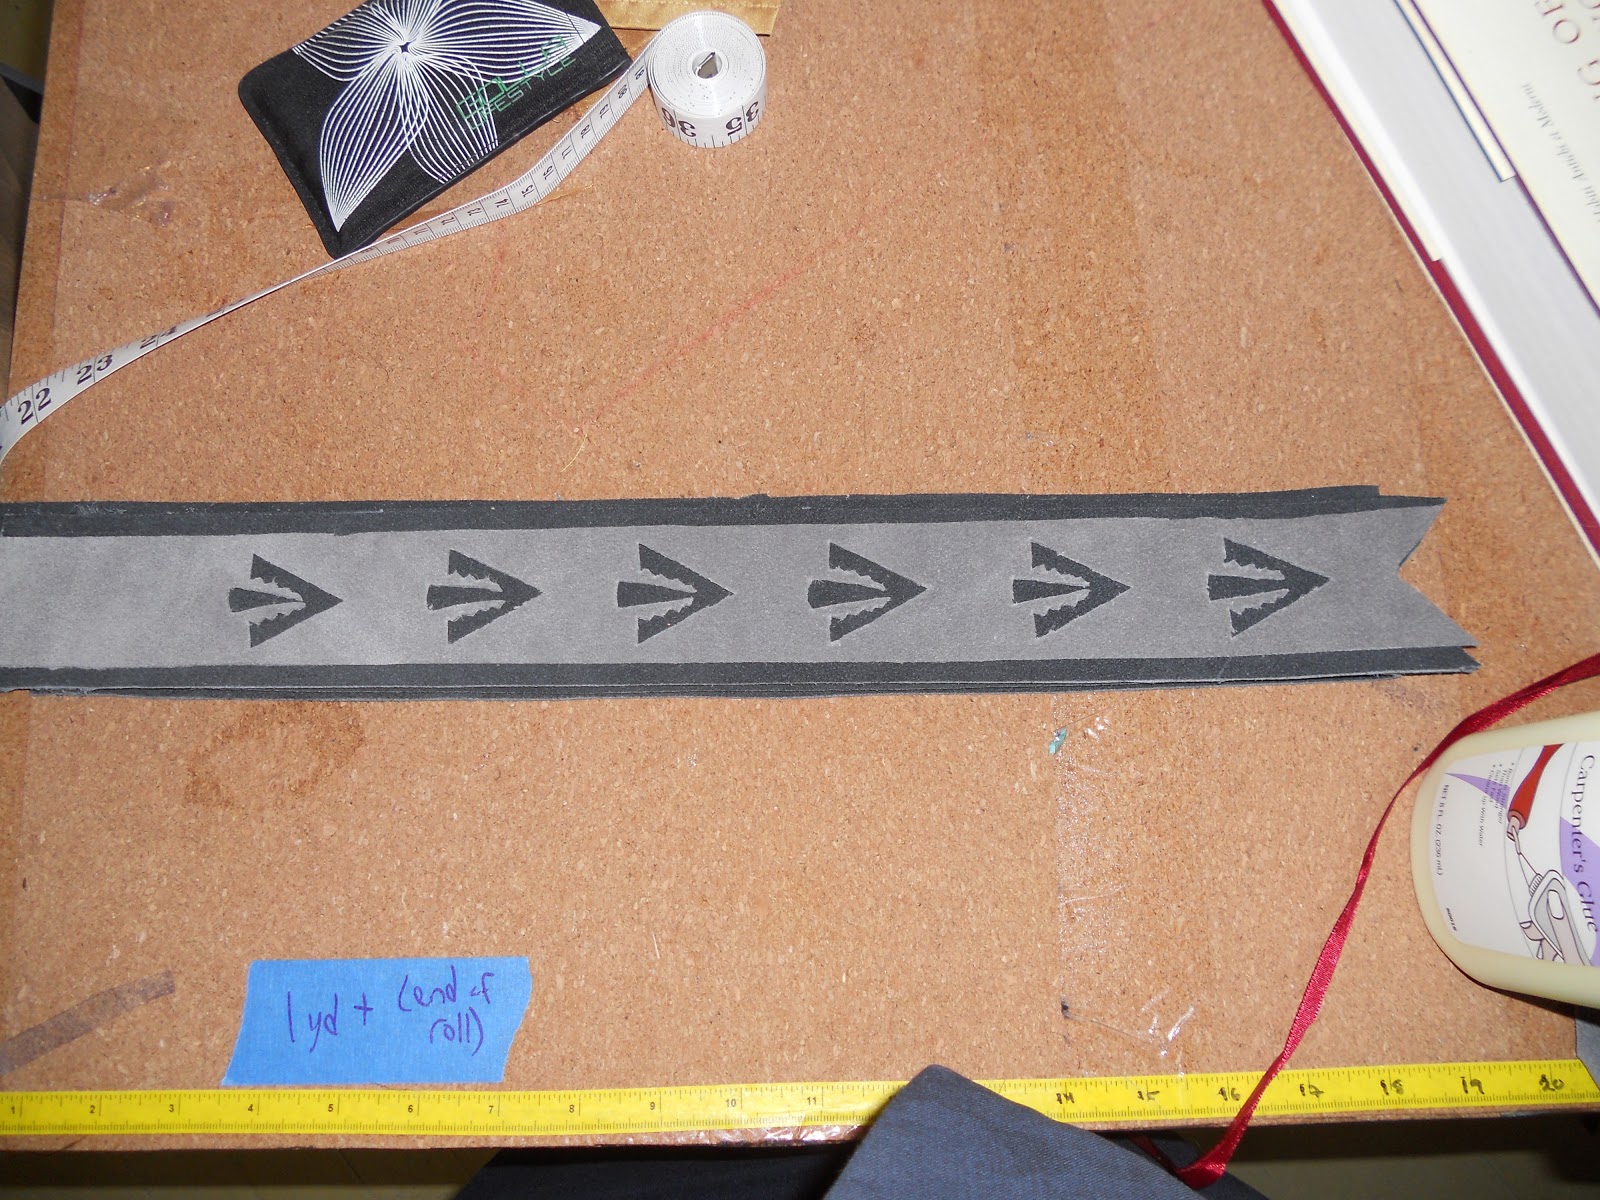
Then it was on to making the crazy S curve details on the skirt...
Used a tracing wheel to go over the stencil on the right side of the velvet (the impression from the wheel was enough to mark it before going over the outline with a light line of chalk)

Six of those on each side
 Then laying the piping down on the right side...
Then flip it welt-style with the gunmetal silk behind it...
 And stitch-in-the-ditch!
 The curveys by themselves looked too plain so lord help me I pulled out the trim...
This was too boring /snoooooze
 This was better but just a bit too much silver (a nice dark silver though)
Then it all came together. Well it's not all together yet but first we did some of this...
 Let's all say it together... "sOOOOOOOutache!"
 mmm yeah that's a good start... (that's all I have done so far)
 But this is what WILL be happening to it next...
*just* enough silver and layerage.

Here's a peeksie of what the skirt intersection is gonna look like...
 Ok. This is all starting to feel muuuuuuch better. Time for a weekend.

Thursday, May 16, 2013

Freaking Out, Small Victories, and Multitasking

Freaking OUT because we're somewhere around 50 days away from Bristol Opening Weekend and there's a whole lot of Sidney to be made. Fabric and pattern acquisition is proving a little challenging so I'm a little stuck until I get those items.
The forepart and sleeves are done and awaiting ties which are being turned and pointed on my layovers.


The small victories include the fact that the leather was not as difficult to work with as it could've been. I also experimented a bit with how to execute the S-curve details on the bodice and overskirt. Which until this point I wasn't sure weather it would be appliquéd trim bits or what.

I ended up being inspired in part by welt pocket construction, of all things, and I'm really happy with what I've come up with and the other small victory is that it will work and will not cause me to tear my hair out attempting. It's simple, deceptively straight-forward, and won't take *too* long to do.

I've made a little S curve stencil, can chalk-trace it onto the velvet, I take two pieces of yellow piping and sew them just outside the lines on the right side of the fabric, slit the velvet to the end of the piping pieces, turn the piping lip under, tuck the ends under, ditch-stitch along the piping securing to the grey silk under fabric, and cap each tip of the curve with a little dark silver nailhead stud.

And while I'm at a hold on the Sidney dress I'm bouncing back to work on the Dutch merchant coat. I've now got all the trim pieces sewn on and trimmed with gold cord and lace. soooo much gold cord and lace.


I'm a collar and lining away from this one being done.

That's the status as of now!

Friday, May 3, 2013

Mmmmm Silk and Leather...

Sometimes the perfect fabric comes to you in a piece that's juuuuuust a little smaller than you'd like for what you want to do with it. And sometimes you say 'fuck it, I'm gonna make it work no matter what'. Such is the case with the yellow silk my friend found for her gown. It's a gorgeous silk taffeta that's actually a golden-orange shot with lemon-lime yellow-green that comes out as a stunning and vibrant golden-yellow. Ideally we wanted to use this for sleeves, forepart, and piping for details on the gown. The piece my friend was able to obtain is unfortunately only about a yard and a half (54" wide) and her source cannot confirm if they will get more of it. Our next goal was to use this piece for forepart and sleeves and find something similar for the other smaller details. As is, the piece was suitably large enough, but it had always been the design to have the the forepart and sleeves pleated vertically which greatly shrinks the size of that piece. I compromised a bit by creating something between a pin tuck and a pleat that has a very pleasing effect without eating up too much of the piece. It was still a close call fitting it all on the piece. I did take a picture of it but for some reason my camera decided to make the file unreadable :( This is a rough sketch of how the pieces got spaced and just how close it was to fit it all.

Once I knew that would work and had the pieces all cut out I moved on to cutting the leather portions for the sleeve and forepart. I found two grey leathers at Sol's that I loved and decided to use a layered effect. 
First a little cutwork on strips of the lighter grey leather.
 Then the lighter grey will be layered on top of the darker grey
  Then the leather strips will be placed on the sleeve.
So there's a little sneak peek of the sleeves!